
Home Made 'Dry' (ish) cured BACON

Many years ago now, I decided I wanted to have a go at making bacon for myself - probably after watching a few too many episodes of River Cottage! (Whose course on charcuterie, while expensive [for a humble float maker] was brilliant and well worth it). Anyway, way back when, so many moons ago, I jumped onto a relatively less crowded version of the internet than currently found and discovered a great blog article that covered exactly what I needed - a quick, simple, mess free method of creating the best dry-ish cured bacon imaginable in a little over a week and the results as well as being unimaginably good, produced bacon at least the equal of the most expensive 'Dutchy of Cornwall' dry cured bacon I had eaten but at a price equal or just below the cheapest value Tesco bacon that is full of water and Nitrates that are just not good for you to eat! Now you can have bacon that actually fries instead of poaching in white gunky looking water.
Why do I say dry-ish cured bacon - well its dry in the sense that no water or chemicals are injected into the meat to 'cure' it. But the dry cure does draw out a lot of moisture from the raw meat into the bag creating a concentrated wet brine - hence the 'ish'.
So, while I was planning on re writing that original blog from Kate, I thought why steal her thunder - she did such a great job and I feel she deserves the big shout out as she kick started not only my bacon making journey but hundreds of others too! So here is the link. Follow her simple steps and you will thank me later for introducing you to her!
https://countryskillsblog.com/2012/04/28/bacon-basics-bacon-in-a-bag-method-dry-curing-at-hom/
What you will need:
1) Pork loin roasting joint (supermarket joints are great and often on special - my last piece was just £6.50 /kg - rey finding quality bacon for that price I challenge you!)
2) Salt and sugar (ratio 2:1 - e.g. 200g salt + 100g sugar). Table salt is fine for bacon. As for sugar - any kind is good EXCEPT refined white. Demerara, soft brown, dark brown - all good. If you want you can use honey (expensive - but maybe just a tablespoon added to the bag gives a great floavour enhancer, as does black treacle making my kids favourite 'Black Bacon'). I recently added a good glug of quality soy sauce to make 'Japanese' bacon - and its currently my favourite!
3) large ziplock bag (Ikea ones are great as they are strong and double seal)
AND THAT'S IT FOLKS. Add a dash of time (5 days in the bag and 3 days to equilibriate/air dry and you are good to eat!
Now if you want to go all fancy, then the world is your oyster and experimentation can lead to the odd disaster and many a fine discovery! Why not add chillie flakes for a spicy tang at brakfast, chipotle for some smokey heat, crushed juniper berries and bay leaves are very traditional and certainly add a certain something.
If you really want to go fancy, you can take it one step further and have a go at smoking you bacon joint before slicing it up - someting I occasionally do, but that's a whole other blog article.
Go wild and have fun with it! So long as you are not married to a vegitarian, this might just be one of those things you have a crack at that, that your wife will not be yelling at you for putting in the fridge unlike those maggots you were trying to stop turning into casters before your next trip to the lake a few seasons back (or was that just me....)
QUICK NOTE - shock horror - bacon is not bright pink. Chemical laiden bacon is bright pink because a long time ago some corporate rip off merchant realised that if you pump pork full of sodium nitrate and sodium nitrite it will hold onto injected water (until you cook it) this making huge profits from the cheapest ingredient available. Oh, and it makes the meat look all pink, kinda like raw meat - kinda. Anyway, that all happened so long ago most of us have forgotten what bacon looked like when most folks raised a slaughter pig in the yard. Its actually a deeper cooked pork colour - to be blunt, more brown/gray than pinkish. Don't be put off by this colour - its what it is supposed to look like!
Quick tip - once you have sliced your bacon, cut the rind off and pop that on the griddle or air fryer for a few minutes first to cook for longer and beome the best 'curly whirlies' (scratchings) to have alongside your bacon. Mmm MMmmm.
Here a re a few pictures of the various stages of making 'Bacon in a bag' from my latest batch.
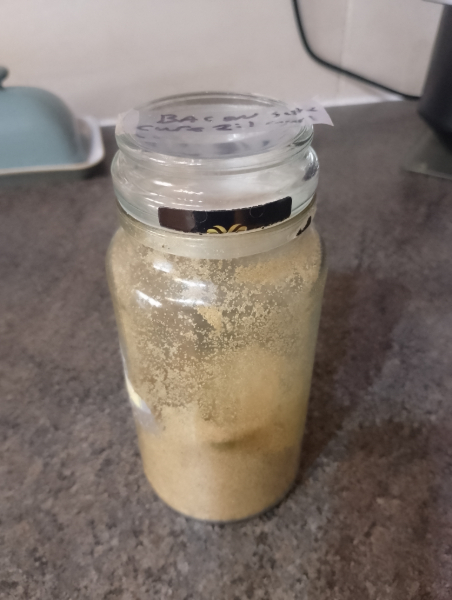
Jar of salt and sugar 'basic' dry rub
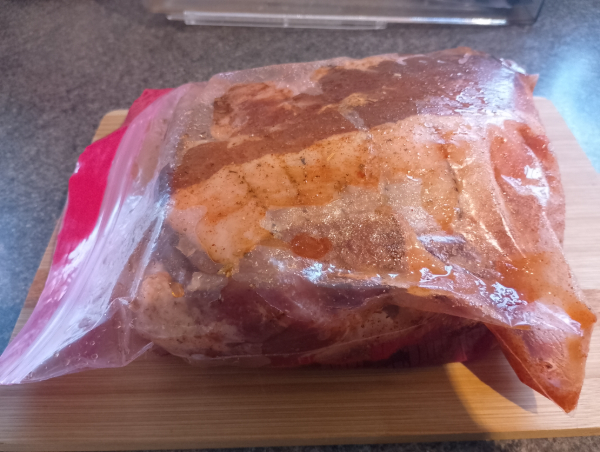
Dry rub (with some smoked paprika added to this one) added after the meat is in the bag. Now into the fridge for five days!
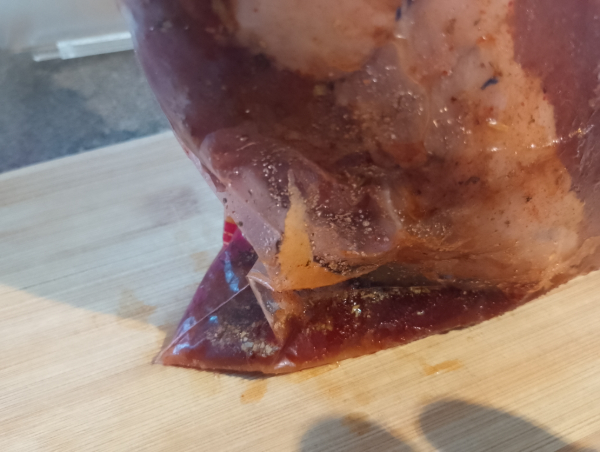
After a while, a brine will form as moisture is drawn from the meat and it cures. Leave this in the bag for the full five days, turning the bag over once a day.
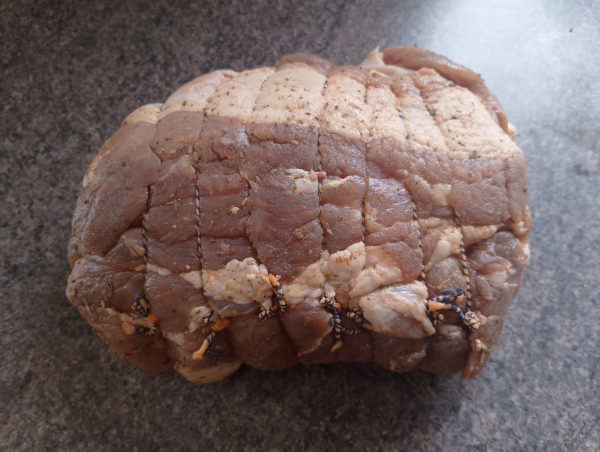
After five days, take the meat out the bag, rinse it under cold water, pat it all over with a piece of kitchen roll dampened with malt vinegar (or cider), wrap it in a clean dish towel and pop in the fridge on the shelf to air dry for three days and for the salt to penetrate all the way (equilibriate)
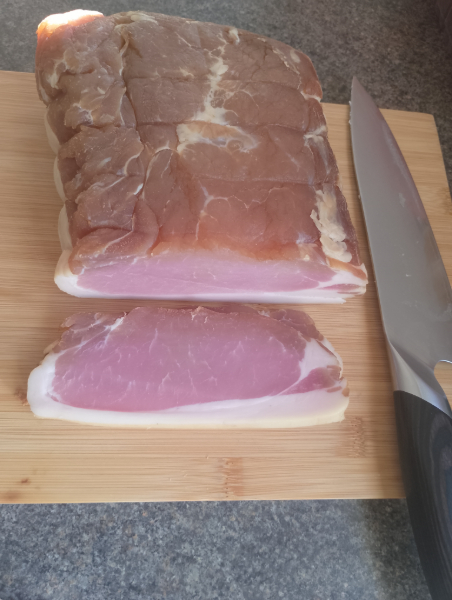
After a total of 7-8 days - slice and cook. Air fryers do bacon very well. Remember not too hot - 180c for 7 to 10 min works well. If you added any extra sugar like mollasses, honey or even soy, be careful as these will burn quickly of you over cook (just keep an eye on it a bit more thats all)
Now go enjoy the fruits of your creation and revel in your inner caveman who actually made something to be suitably proud of and that you will want to share. Darn, now I feel hungry!



Thank you for posting your blog comment. It will be reviewed and set live soon. If you provided your email then you will be notified of replies to this comment.